Team workspaces: one place for your team's links
Sharing board by board works for one-off projects. When the same group of people keeps sharing links, such as a studio, a support team or a class, a team workspace is easier. It is a named group of members with its own boards in the sidebar.
Team workspaces are part of the Pro and Premium plans. On Free and Starter the Create Team control shows a lock and a Pro badge and opens the plan dialog.
Create a team workspace
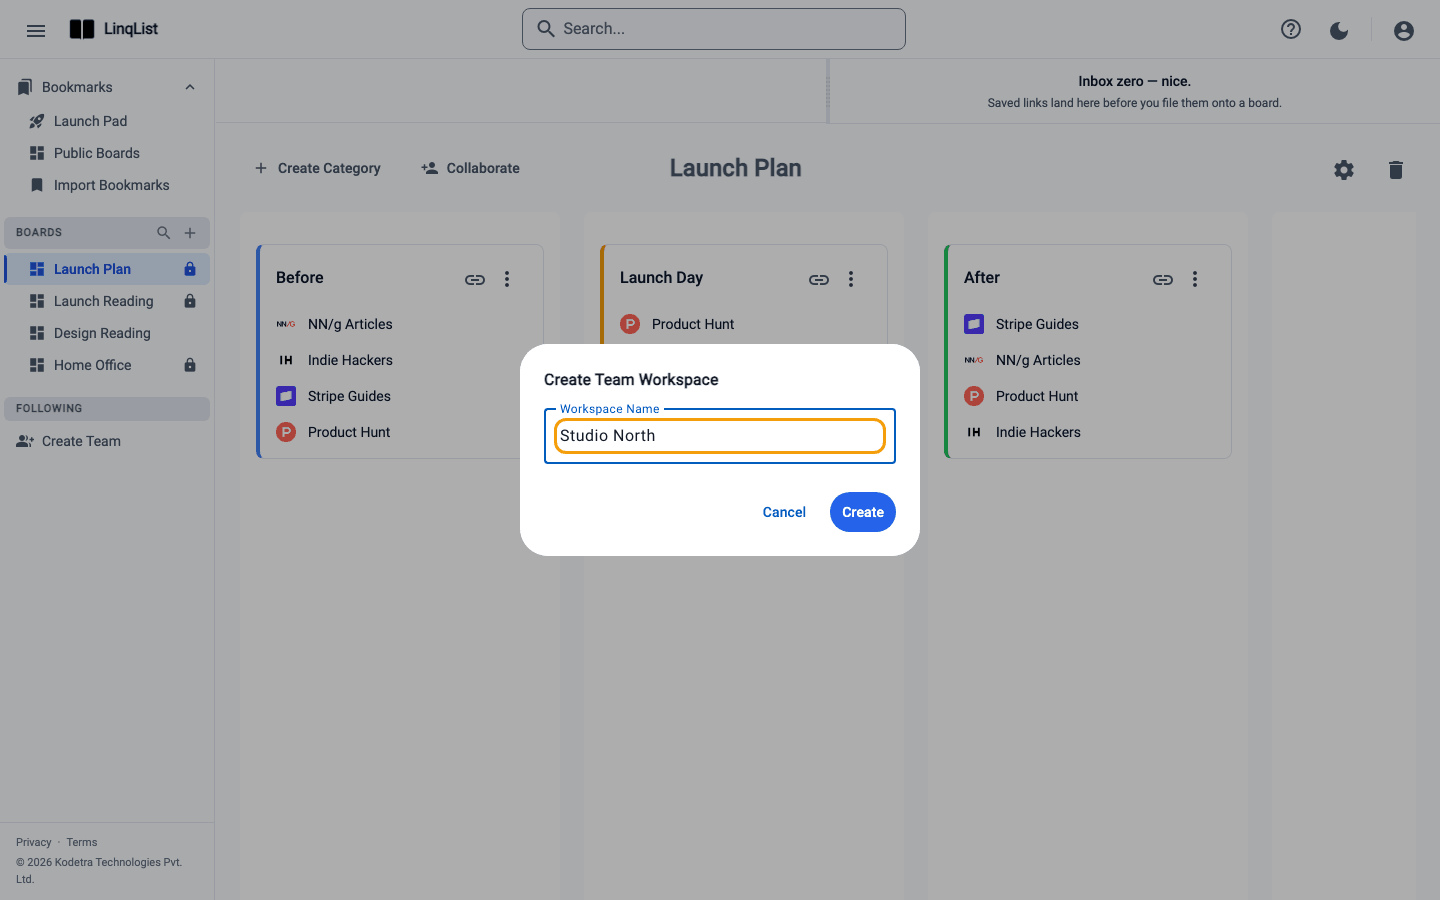
- In the left sidebar, find the Teams section. If you have no teams yet, use the Create Team row in the sidebar. If you already have a team, click the + next to the Teams heading (Create team workspace).
- Enter a name in the Create Team Workspace dialog (the field is labeled Workspace Name, for example Studio North) and confirm.
- LinqList shows Team workspace created and opens the team page.
Add boards
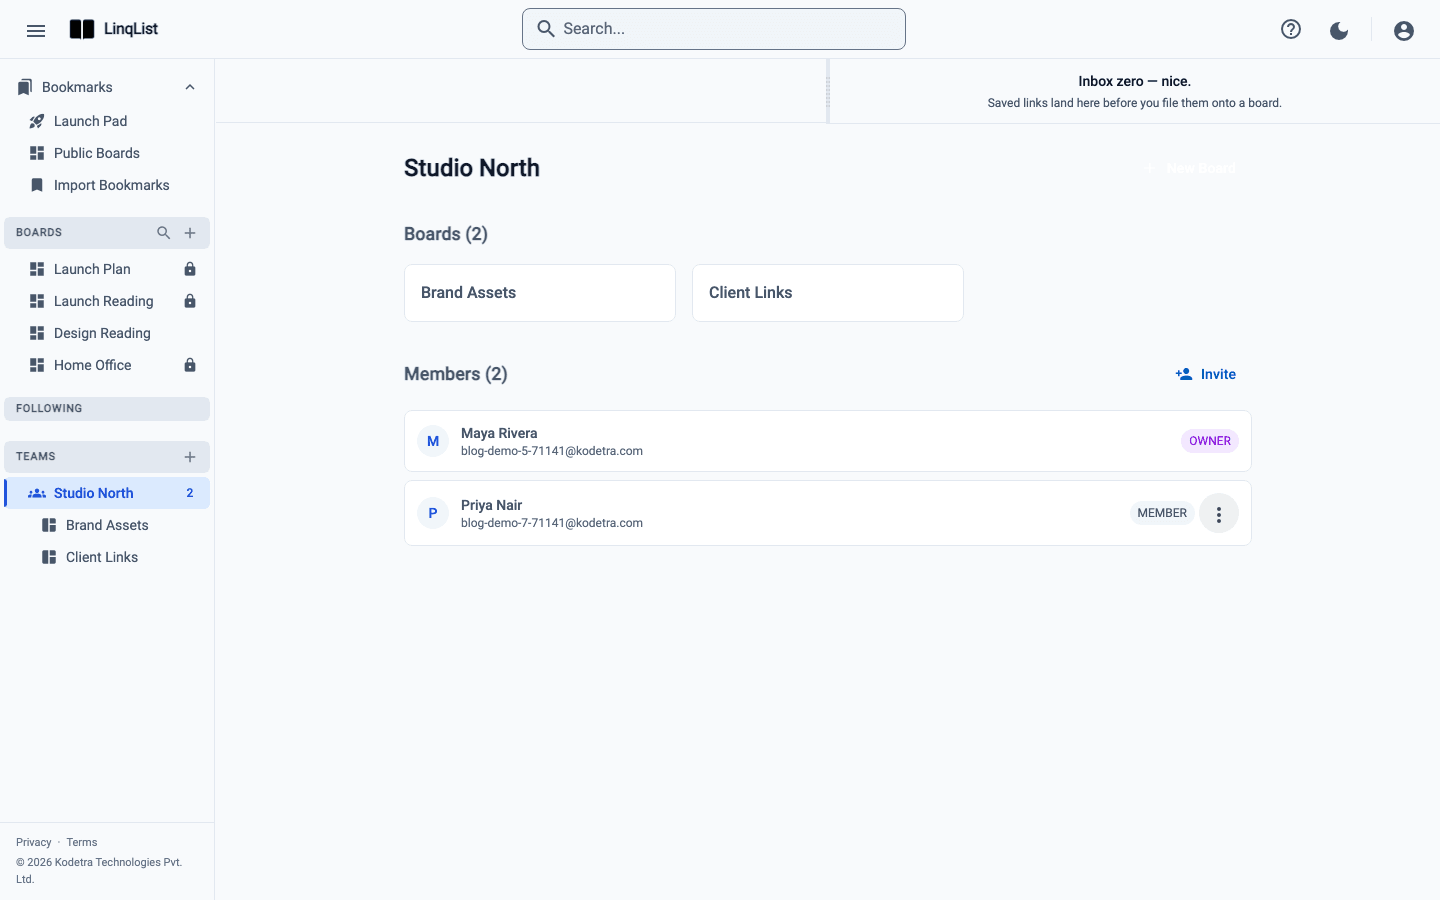
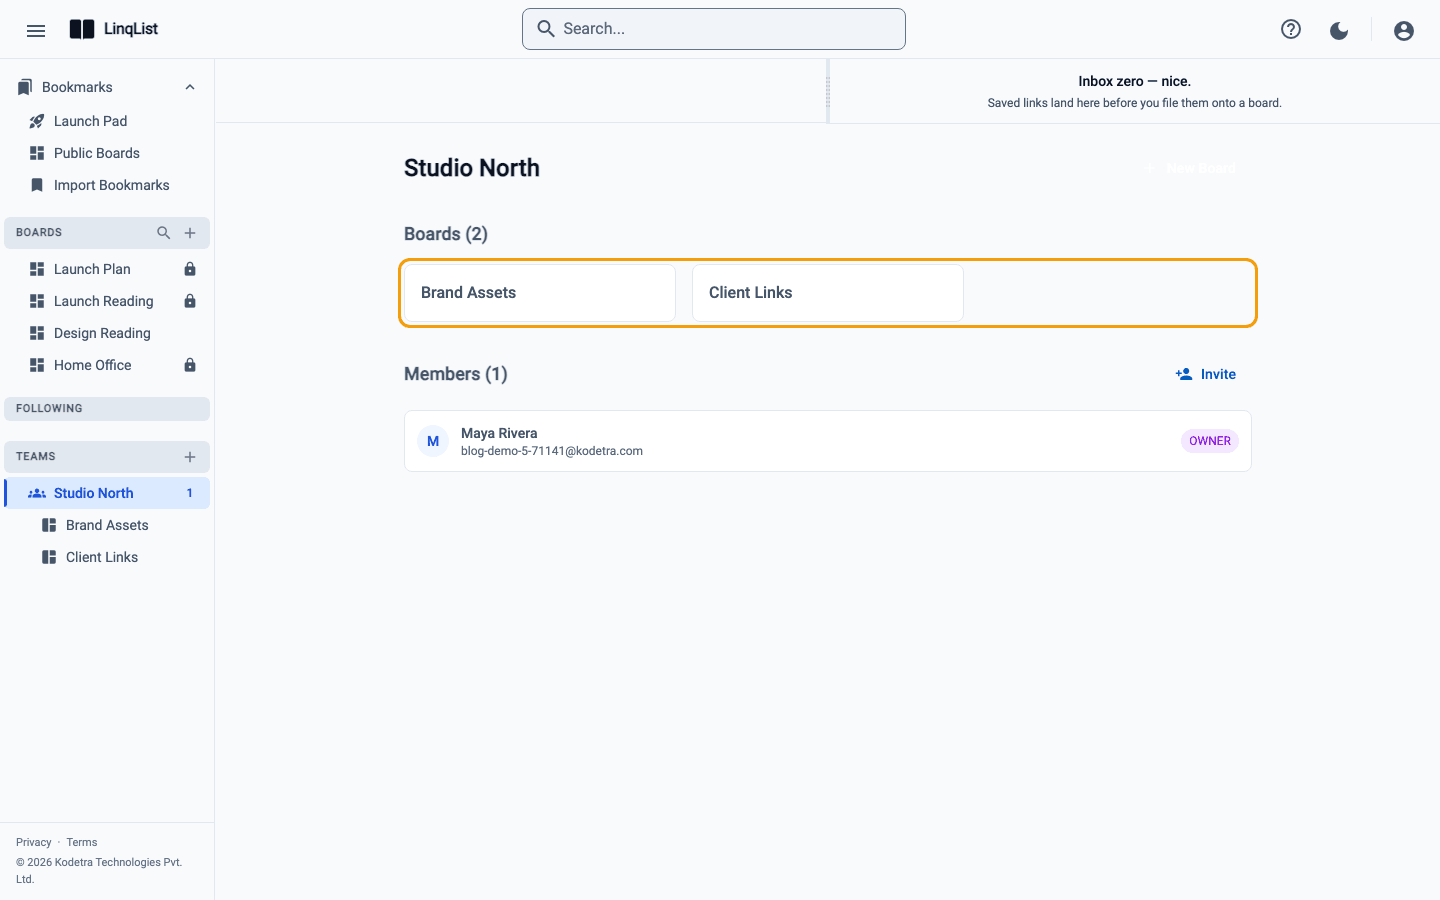
The team page lists Boards with a count and the message No boards yet. Create your first team board! when it is empty. Click New Board at the top right of the Boards section, name it in the Create Team Board dialog and confirm. You will see Board created.
You can also create a team board from anywhere. Click the + next to Boards in the sidebar (Add new board). Once you belong to a team, the dialog has a Location menu: leave it on Personal or choose a team. Team boards show up in the sidebar nested under their team, so you can tell whose board is whose. They start as private boards.
Invite members
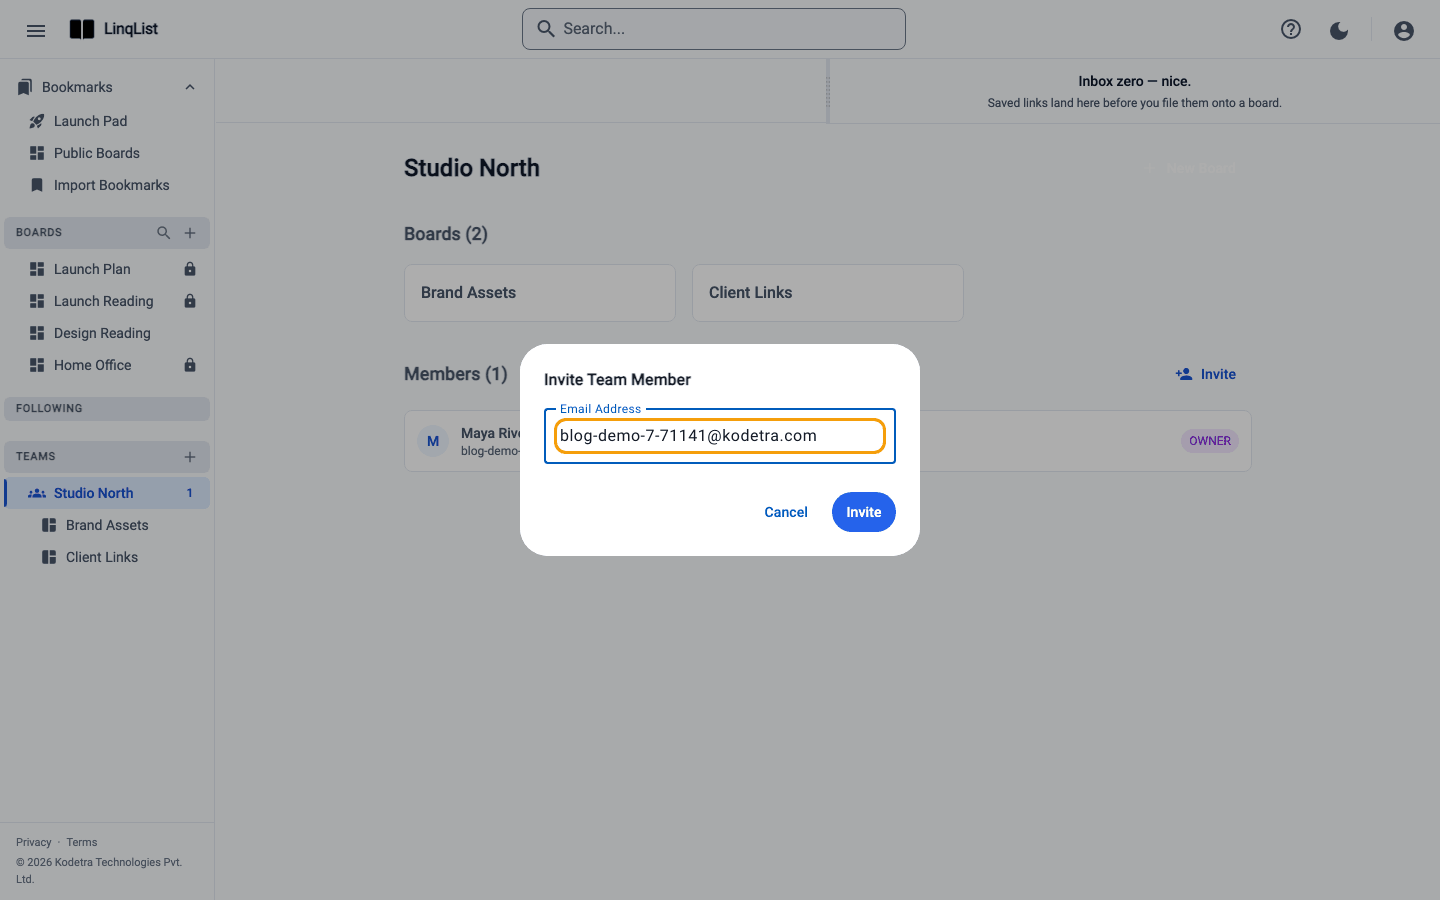
- On the team page, click Invite beside the Members heading.
- Type your teammate's email address in the Invite Team Member dialog and click Invite.
- You will see Invited <email>, and the person appears in the Members list with a role badge.
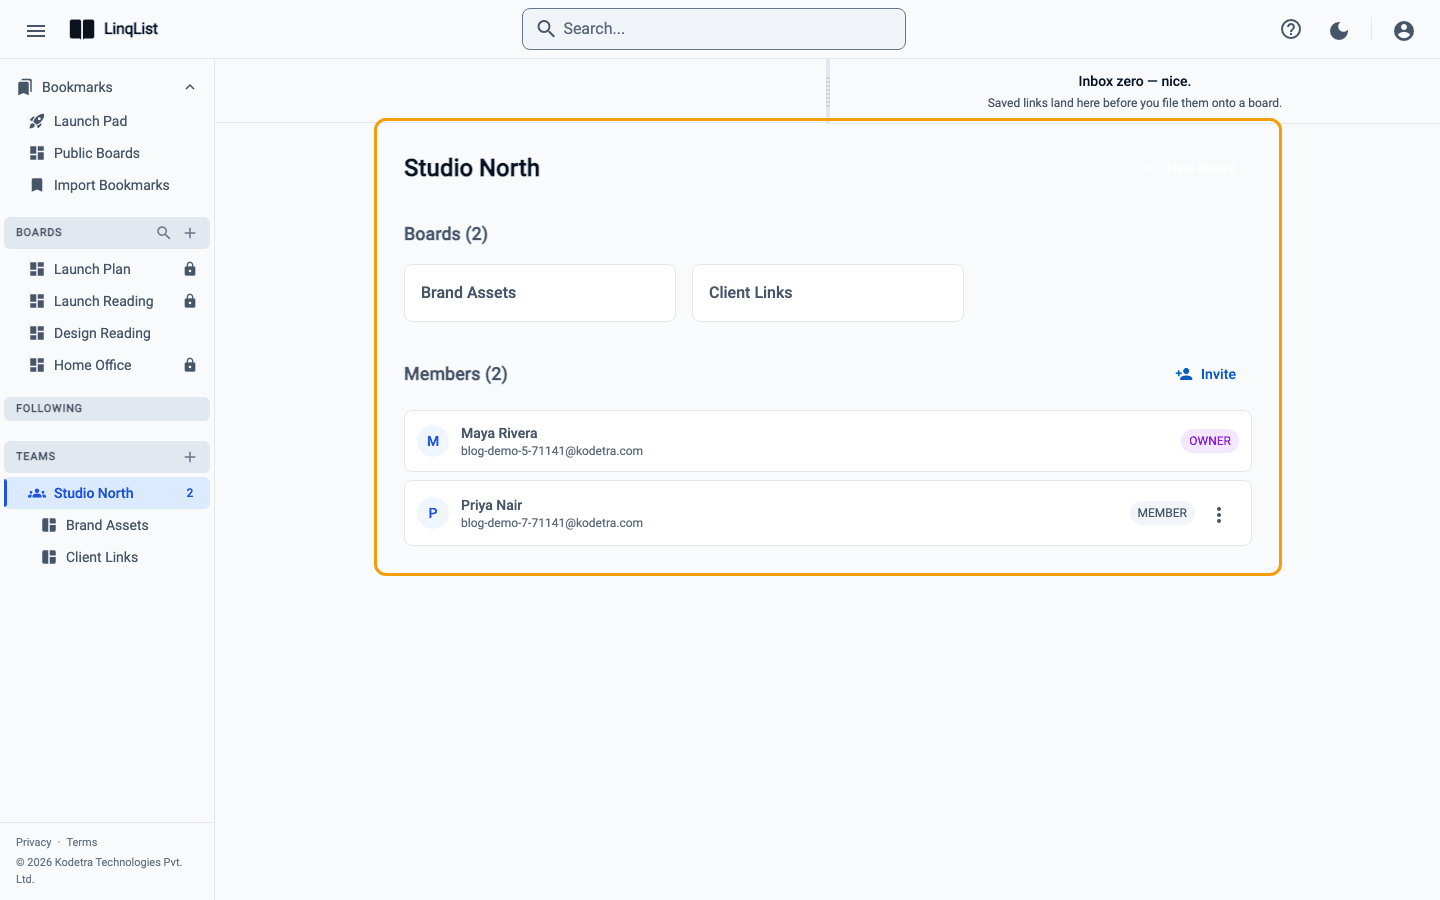
Two things to know. First, the person must already have a LinqList account with that email; otherwise LinqList answers No user found with email, so ask them to sign up first. Second, there is no acceptance step: the invite adds them immediately, and the team and its boards appear in their sidebar the next time they load LinqList. New members get the MEMBER role. Roles show as OWNER, ADMIN or MEMBER next to each name.
Manage members and roles
Each row in the Members list has a menu for the actions your role allows:
- Owner: Make admin promotes a member, Make member turns an admin back into a member, and Remove from team takes someone off the team (LinqList asks you to confirm).
- Admin: can invite people and use Remove from team on members, and can Leave team.
- Member: uses the team boards. The Invite button and member actions are hidden.
Nobody can change the owner's role or remove the owner.
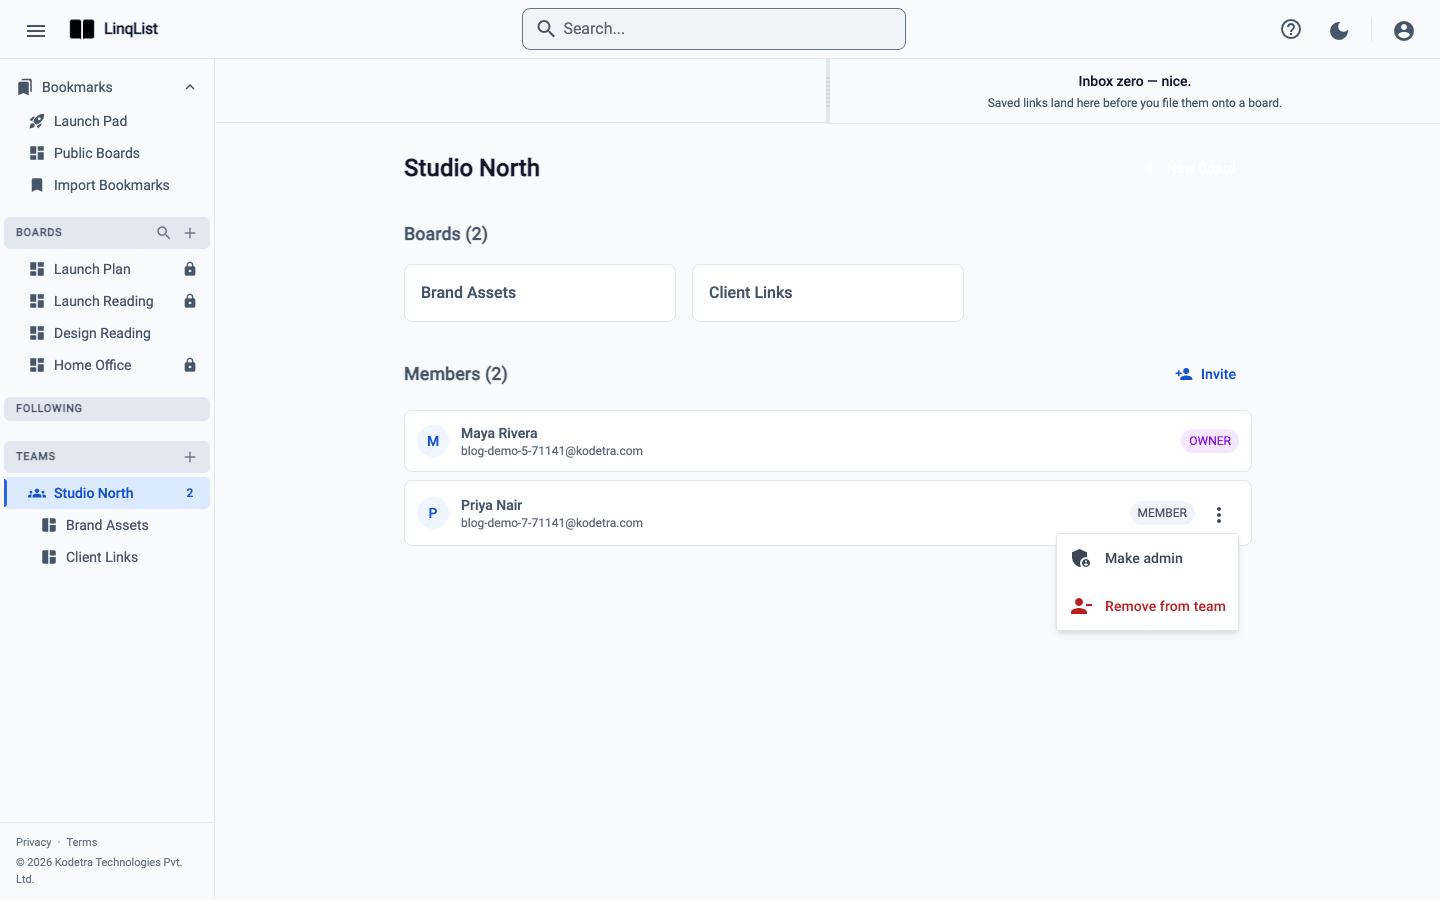
Seats
A workspace has a member limit. When you reach it, inviting fails with Workspace is at maximum capacity and the number of members allowed. The Members heading shows how many people you have so far.
Tips
- Name team boards by topic (Brand Assets, Client Links) so the nested sidebar stays readable. Board names are capped at 15 characters.
- The sidebar's board filter also searches team boards, which helps once a team has a lot of them.
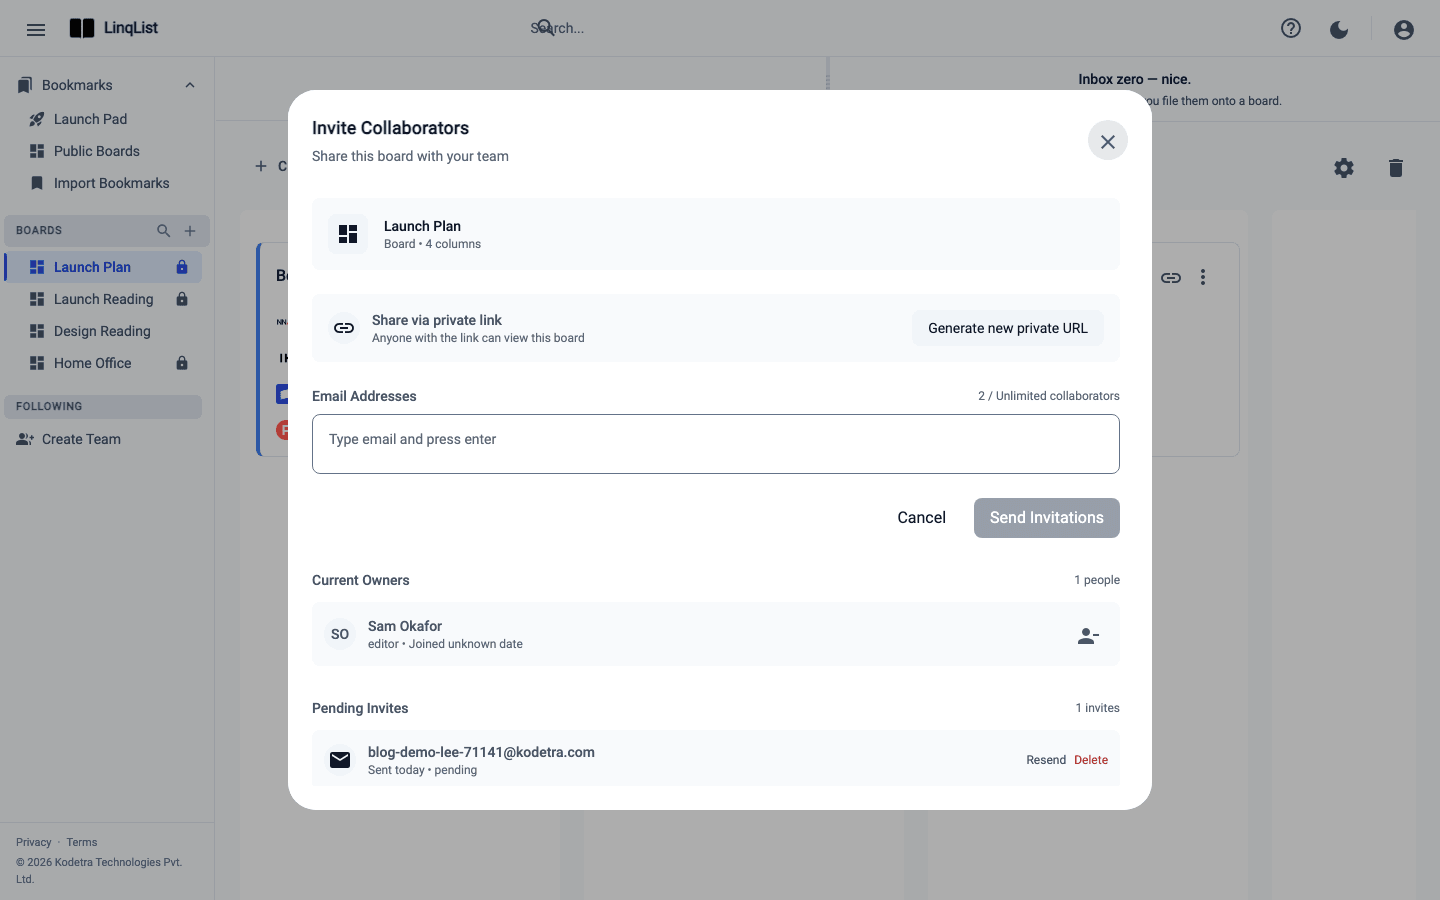
- Need to share one board with someone outside the team? Invite them as a collaborator or send a private link.
Plan your team's layout
A workspace works best when the sidebar tells the story at a glance. A layout that has worked for small teams:
- One workspace per group of people who share the same links, such as a studio or a department.
- One board per topic or client inside it, each with a handful of categories.
- One person who owns the workspace and keeps the board names tidy; make a second person you trust an ADMIN as the backup.
- Personal links stay on your personal boards. Choose Personal in the Location menu when you create them so they do not end up in the team's list.